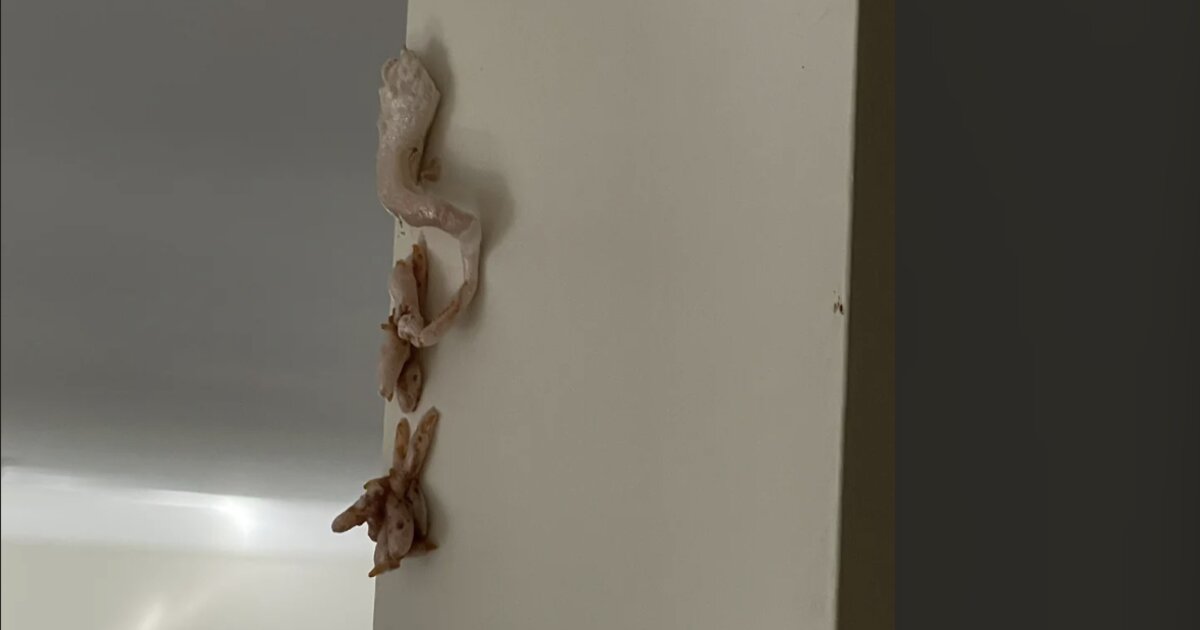
You walk into the hallway holding a fresh cup of dark roast, glance toward the door frame, and freeze. Sticking straight out of the drywall corner is an odd, fleshy-pink clump. It looks like a stray bit of dried bubblegum, a mutant coral reef, or something that crawled out of the floorboards overnight.
Your mind jumps straight to toxic mold, structural decay, or an expensive call to an emergency contractor. Take a breath. That strange, crunchy extrusion along your trim is one of the most common surprises older homes spring on their owners.
What Is That Pink Crunchy Growth on the Wall?
In almost every case, that rigid blob is cured polyurethane expanding foam insulation. Someone used canned expanding foam to seal a drafty void behind the door frame, around an electrical outlet, or along a baseboard. The installer sprayed too much product, closed the wall, and moved on.
Because expanding foam increases up to thirty times its original liquid volume, it seeks out any tiny pathway. It creeps through drywall seams, nail holes, and hairline cracks in plaster. Once it hits open air, it hardens into a rigid, textured stalk.
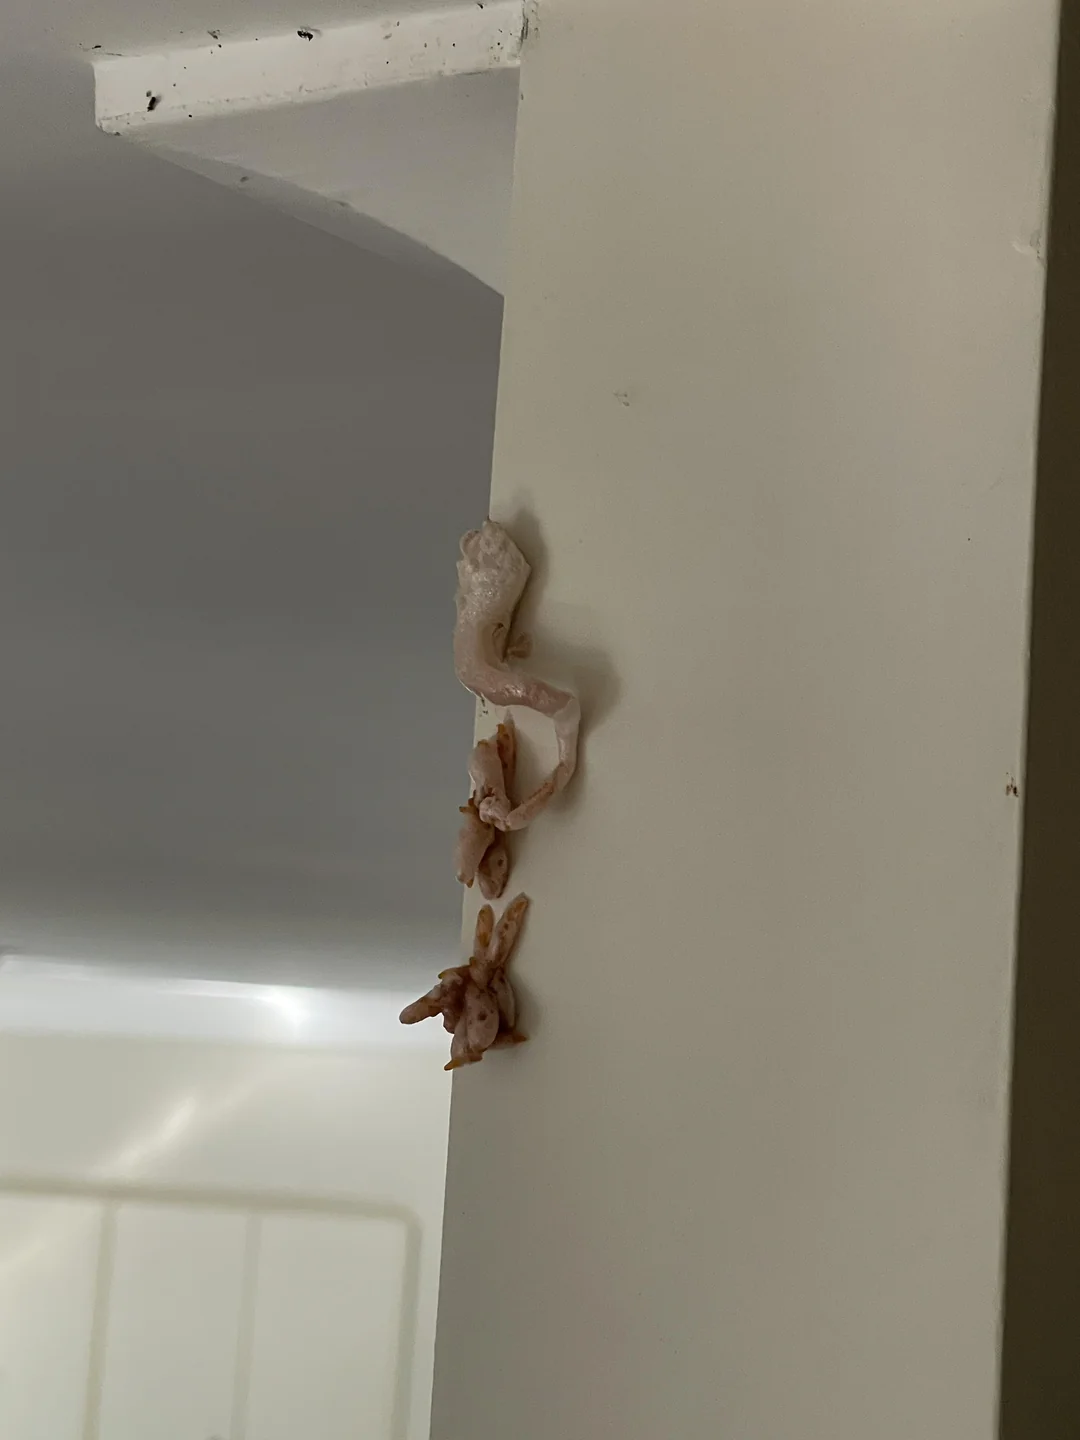
A close look at cured polyurethane expanding foam squeezing out of a door jamb seam.
Over years of house settling, seasonal humidity shifts, or paint micro-cracking, the drywall moves just enough for this old extrusion to poke through. What feels like a brand-new fungal colony is usually just construction residue from a decade ago.
Why Is the Foam Pink or Orange?
Standard polyurethane foam leaves the can in pale off-white or yellowish tones. When exposed to interior ambient light, sunlight, and air, polyurethane oxidizes, turning deep amber, salmon, or chalky pink. Furthermore, specialized commercial fire-block foam is manufactured with a distinct bright orange or pink tint so building inspectors can spot code-compliant firebreaks around wiring and plumbing chases.
The Quick Diagnostic: Foam, Fungus, or Bathroom Bacteria?
Before grabbing tools or stressing over remediation bills, run through this quick physical checklist. You can figure out what you are dealing with in under thirty seconds.
- Texture & Feel: Cured expanding foam feels lightweight, rigid, and slightly brittle. When poked with a pencil, it yields with a dry, papery crunch. Active mold is fuzzy, soft, slimy, or powdery.
- Scent: Old foam is completely odorless. Fungi, wood rot, and active mold colonies carry a damp, earthy, mushroom-like smell that lingers in the room.
- Location: Foam extrusions sit tightly along drywall joints, mitered trim corners, window jambs, and screw holes. Mold spreads in circular patterns across open sheetrock surfaces or wallpaper seams.
- Coloration: If you see a slimy, bright pink film in a shower corner or near a sink, that is Serratia marcescens, an airborne bacterium that feeds on soap residue. It wipes clean with a damp rag and has zero crunch.
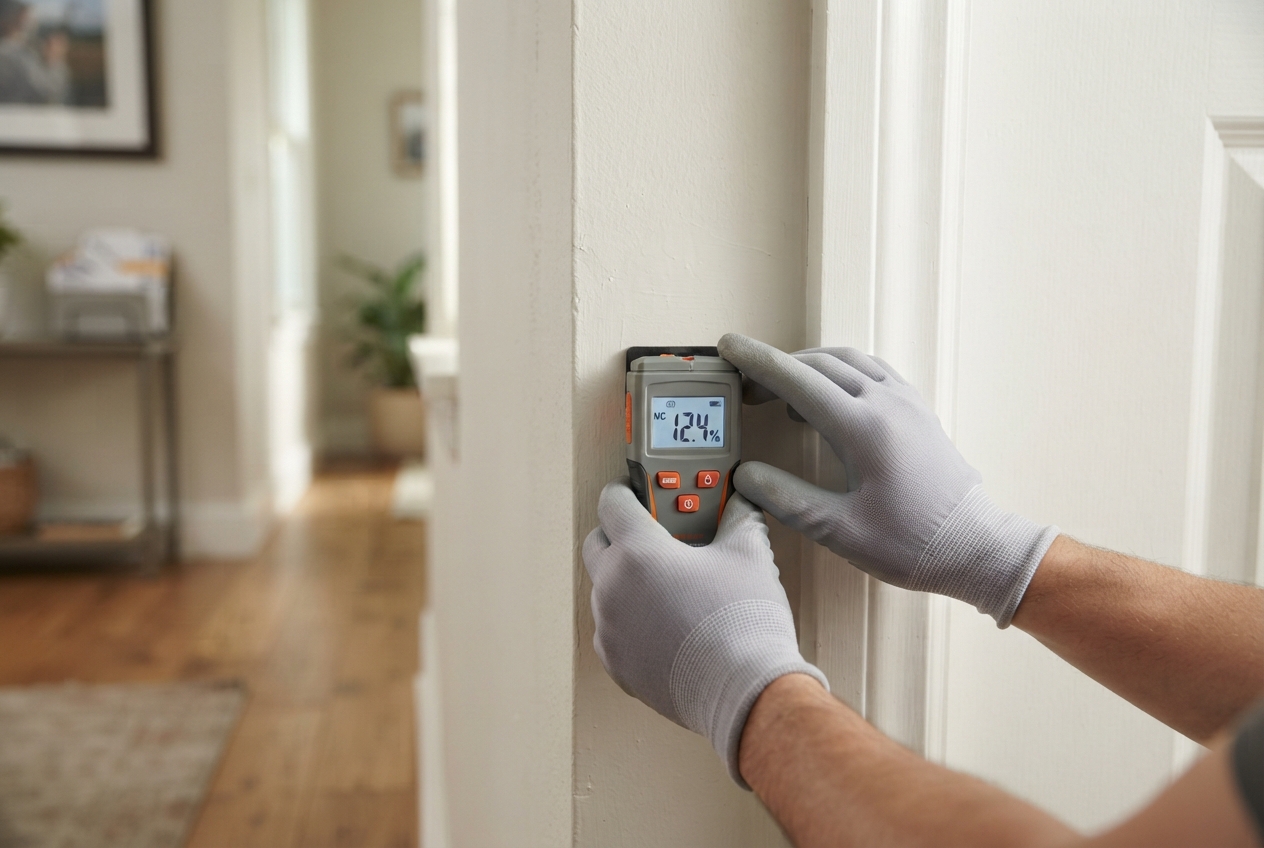
Checking drywall moisture levels with a pinless meter before touching any mysterious wall growth.
Checking for Hidden Moisture Behind the Wall
While the pink foam itself is harmless cured plastic, you need to verify why it showed up now. Sometimes foam expands outward because trapped moisture behind the wall cavity is swelling the surrounding wood framing.
Grab a basic digital moisture meter from the toolbox. Press the scanner against the drywall three inches away from the protrusion. A reading under twelve percent means your wall cavity is bone dry, confirming you have an old cosmetic foam leak.
A sudden spike in moisture above sixteen percent, soft drywall paper, or bubbling paint indicates a slow plumbing leak or roof run-off feeding into the wall cavity. Fix the water source before patching the surface.
Tools and Materials for a Seamless Repair
Restoring your wall corner to a smooth finish takes about twenty minutes of active work spread over an afternoon of drying time.
- Sharp utility knife with a fresh blade
- Medium and fine-grit sanding sponges (120-grit and 220-grit)
- Small tub of lightweight joint compound or vinyl spackle
- 3-inch flexible putty knife
- Stain-blocking bonding primer
- Matching interior wall paint and a 4-inch mini roller
- Nitrile gloves and a handheld vacuum
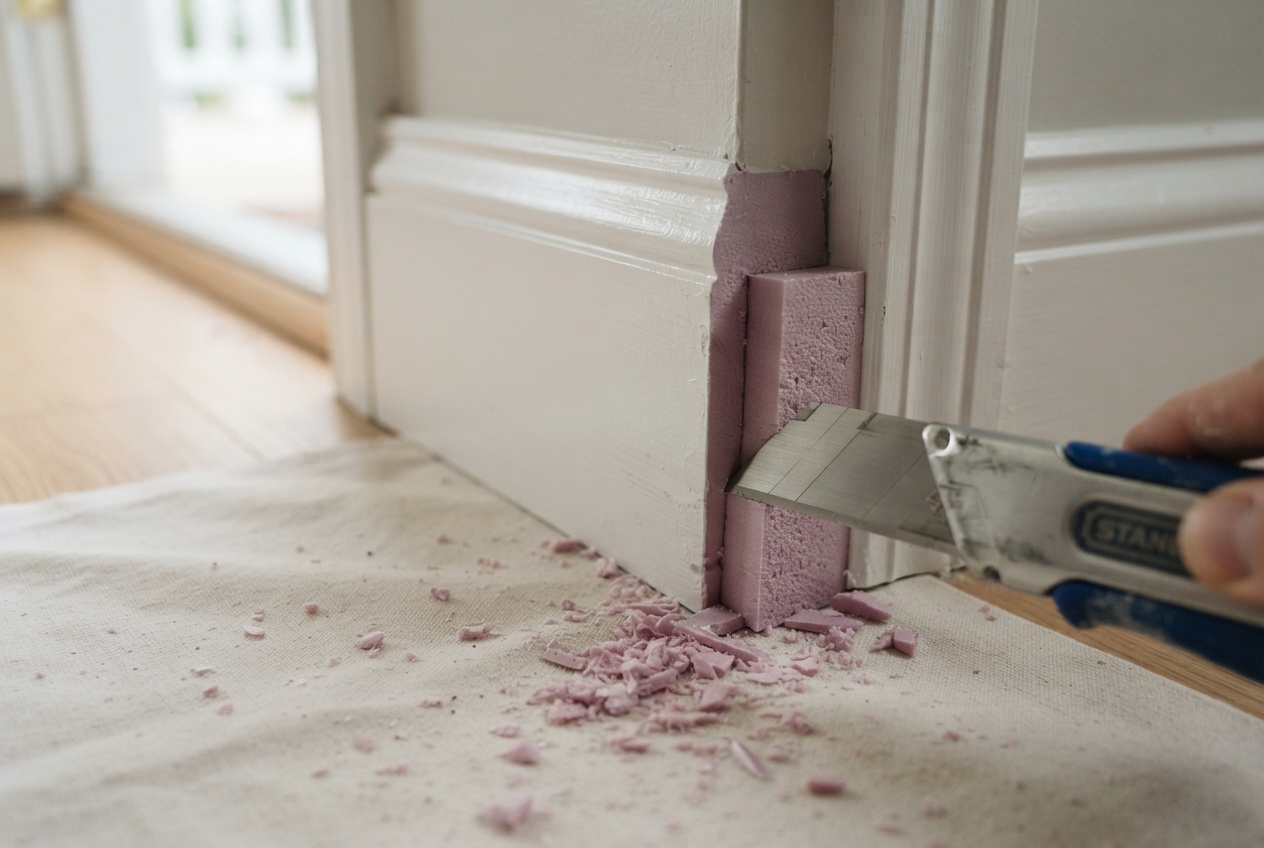
Trimming the cured foam flush to the drywall surface using a sharp utility knife.
Step-by-Step: How to Remove Foam and Repair the Drywall
Do not yank the foam out with pliers. Pulling cured foam can tear the underlying drywall paper, turning a five-minute trim into an extensive drywall repair.
Step 1: Slice and Recess the Protrusion
Put on gloves. Extend your utility knife blade by half an inch. Hold the blade flat against the wall and gently score around the base of the foam stem. Slice through the foam so it sits slightly recessed—about one-sixteenth of an inch below the level of the surrounding drywall.
Step 2: Clean the Seam
Vacuum away all loose plastic crumbles and dust. Wipe the immediate area with a microfiber cloth dipped in warm water mixed with a splash of mild dish soap. Let the surface dry completely.
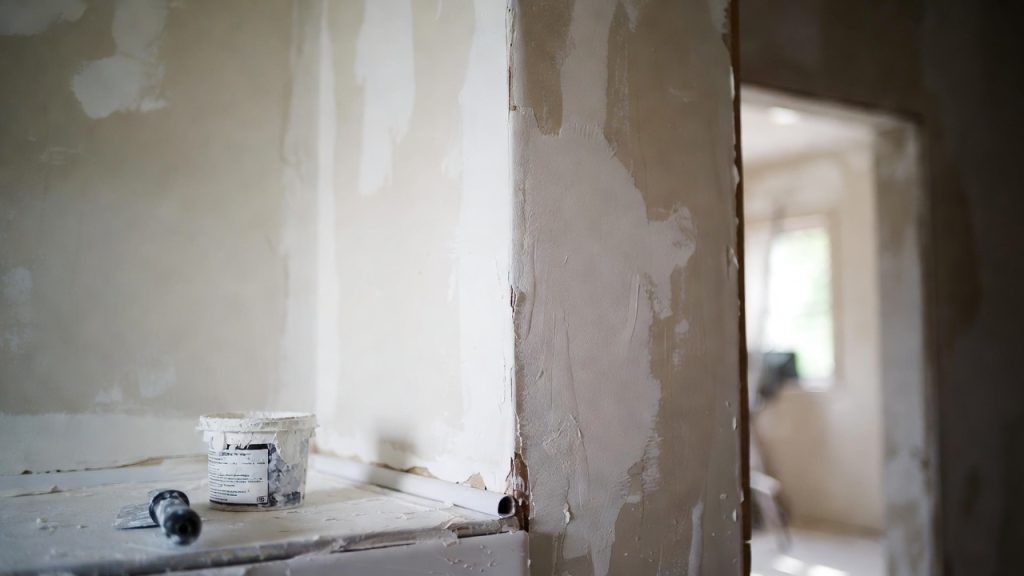
Fresh drywall compound applied over patched trim joints ready for smooth sanding and paint.
Step 3: Apply Joint Compound
Scoop a marble-sized dollop of lightweight joint compound onto your putty knife. Press the compound firmly into the recessed seam, then pull the knife blade flat across the patch at a thirty-degree angle to feather the edges smooth.
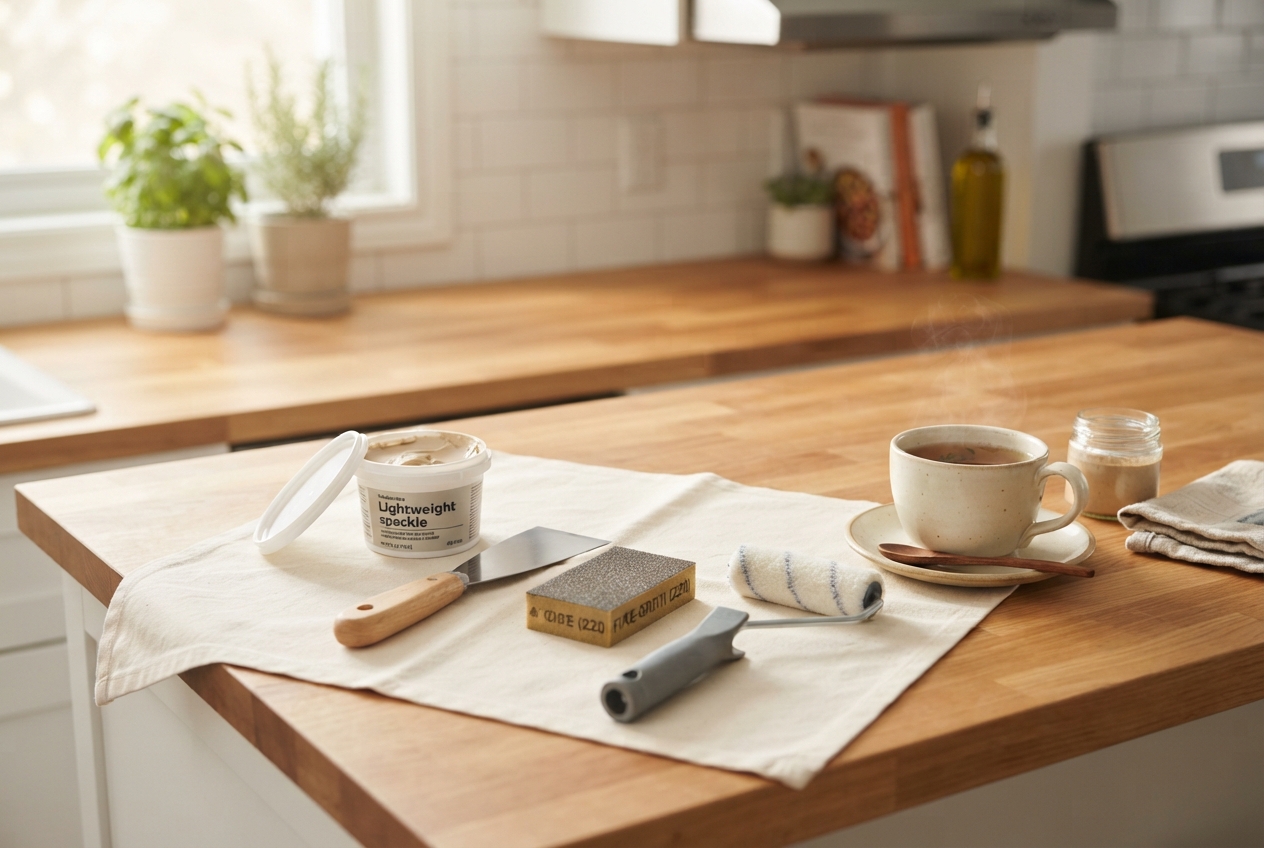
Everything you need for a seamless drywall patch: joint compound, sanding sponge, primer, and matching wall paint.
Step 4: Sand, Prime, and Paint
Allow the spackle to dry for one to two hours until bright white. Buff the patch with a 220-grit sanding sponge using gentle circular motions. Seal the repaired drywall paper with a dab of stain-blocking primer, let it tack dry, and roll on two thin coats of matching wall paint.
How to Prevent Spray Foam Blowouts on Future DIY Projects
If you are sealing gaps around windows, baseboards, or exterior plumbing pipes yourself, keep expanding foam under control with these simple rules:
- Use Minimal-Expanding Formulas: For door frames, window jams, and interior trim, always purchase cans marked “Low Expansion” or “Window & Door.” These cure without exerting heavy pressure that warps frames or forces product through wall seams.
- Follow the One-Third Rule: Fill voids only one-third full. Allow the chemical reaction to push the bead outward to fill the remaining void naturally.
- Keep Indoor Humidity Balanced: Maintain indoor relative humidity between thirty-five and fifty percent using a standalone hygrometer. Stable humidity prevents timber framing from swelling and squeezing concealed foam deposits into your living space.
Finding pink foam growing out of your wall corner might give you a brief start, but it rarely signals a household disaster. With a sharp utility knife, a skim of joint compound, and a quick touch of paint, your room corners will be crisp, smooth, and back to normal before the weekend is out.